Return to index page
Previous image Next image
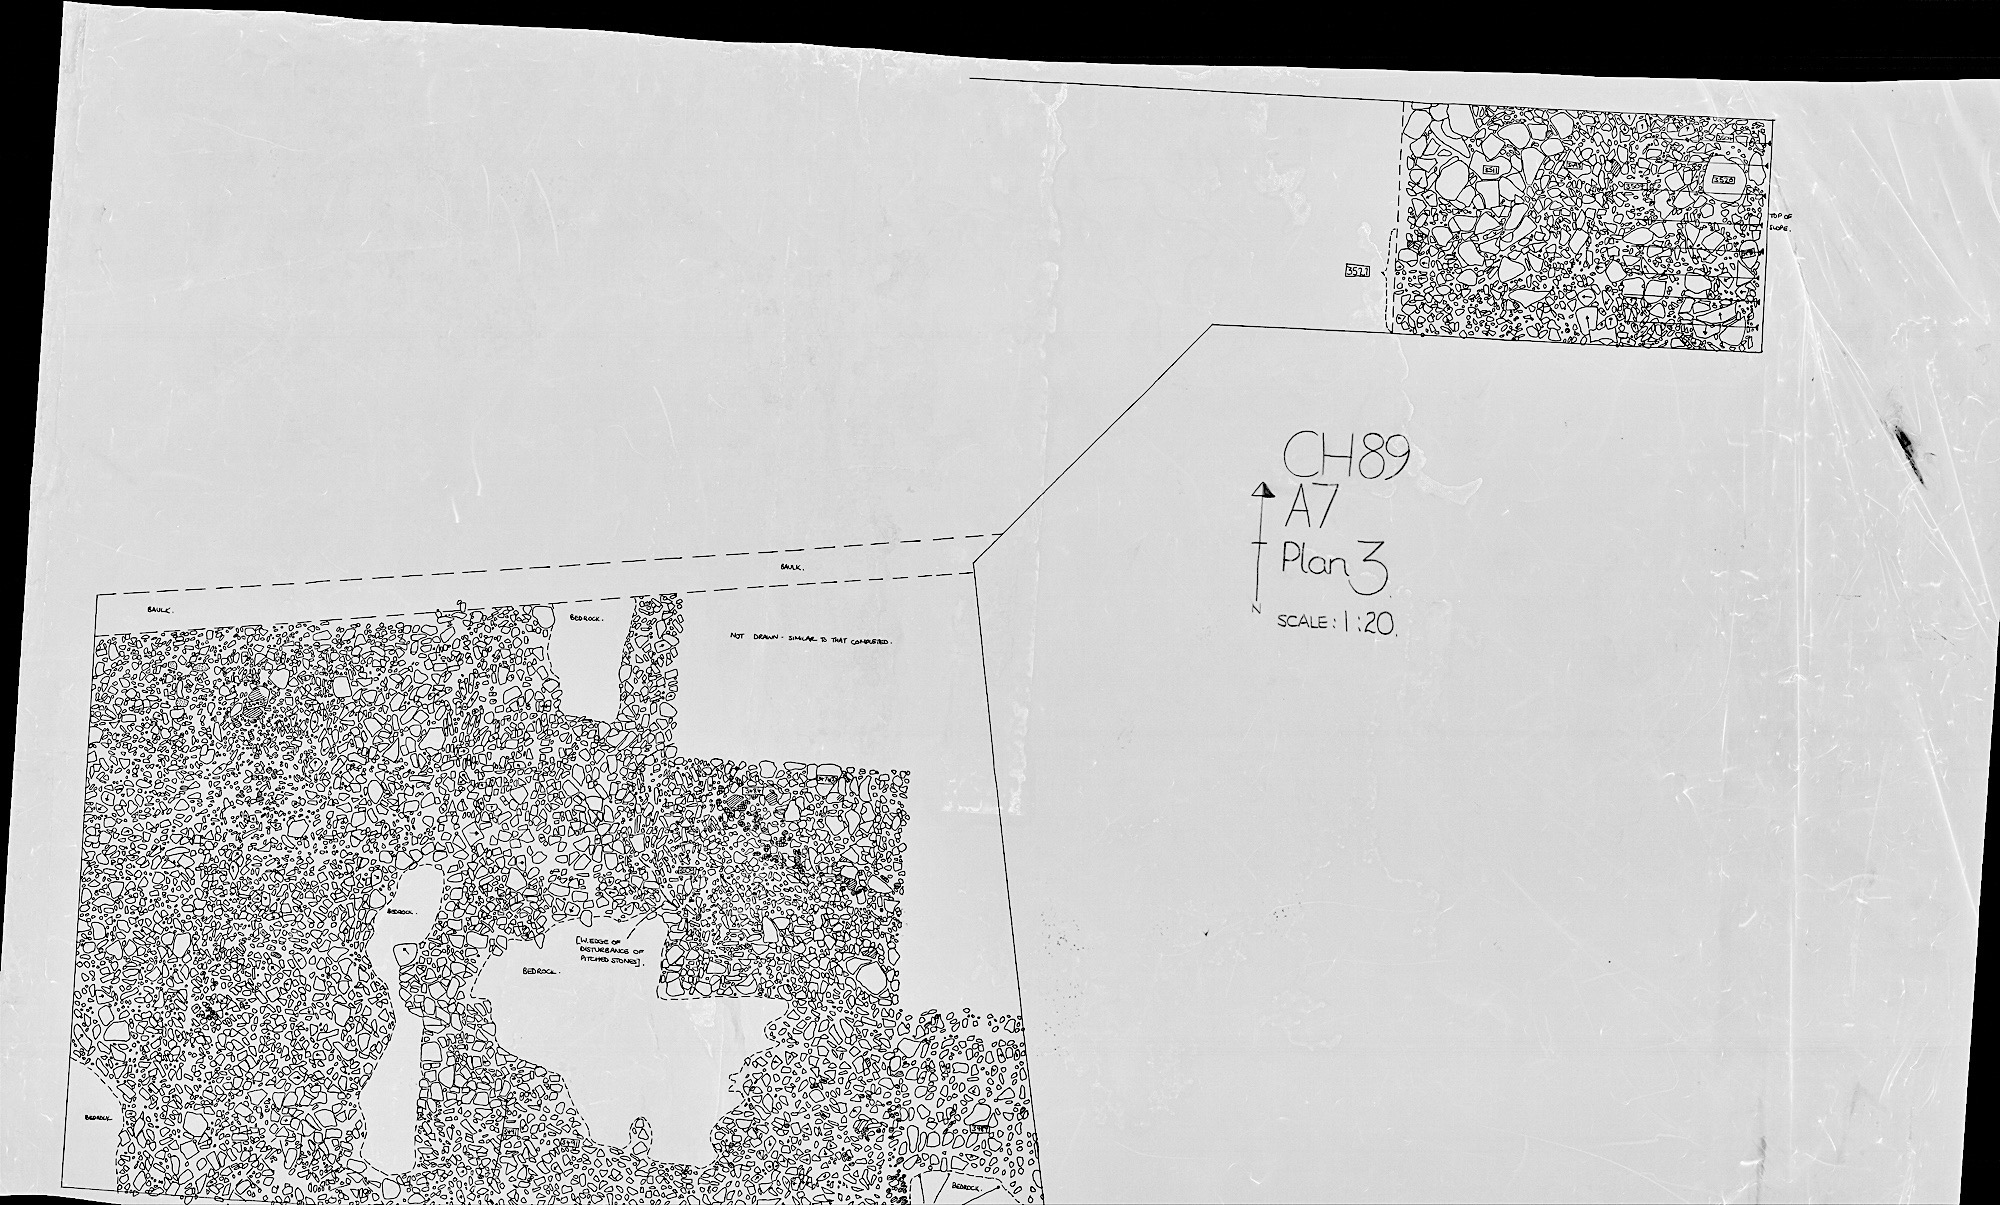
5. Plan 3 with AA7
5. Plan 3 with AA7

5. Plan 3 with AA7