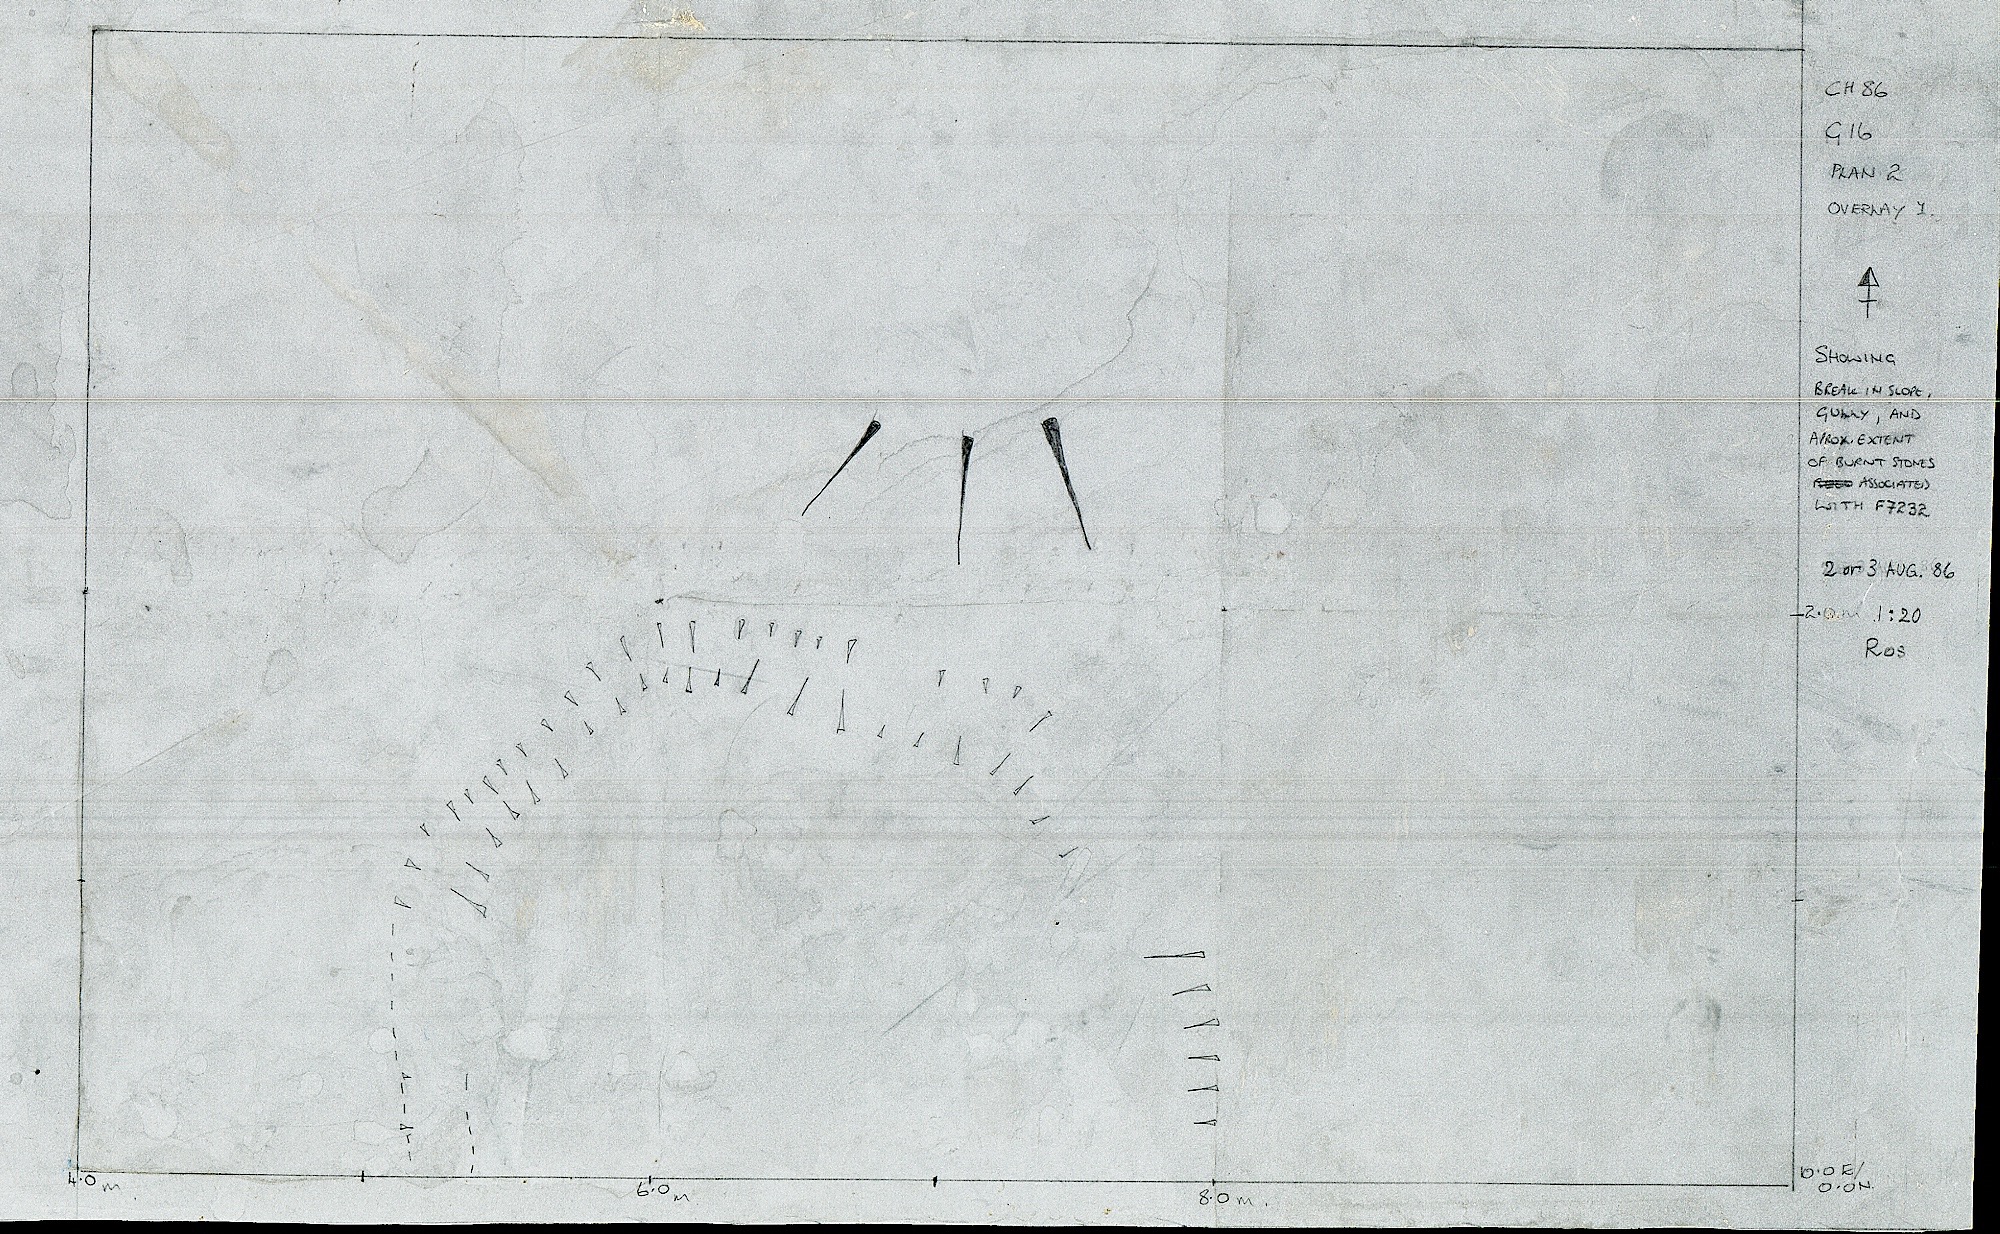
Return to index page
Previous image Next image
4. Plan 2 overlay 1
4. Plan 2 overlay 1
4. Plan 2 overlay 1