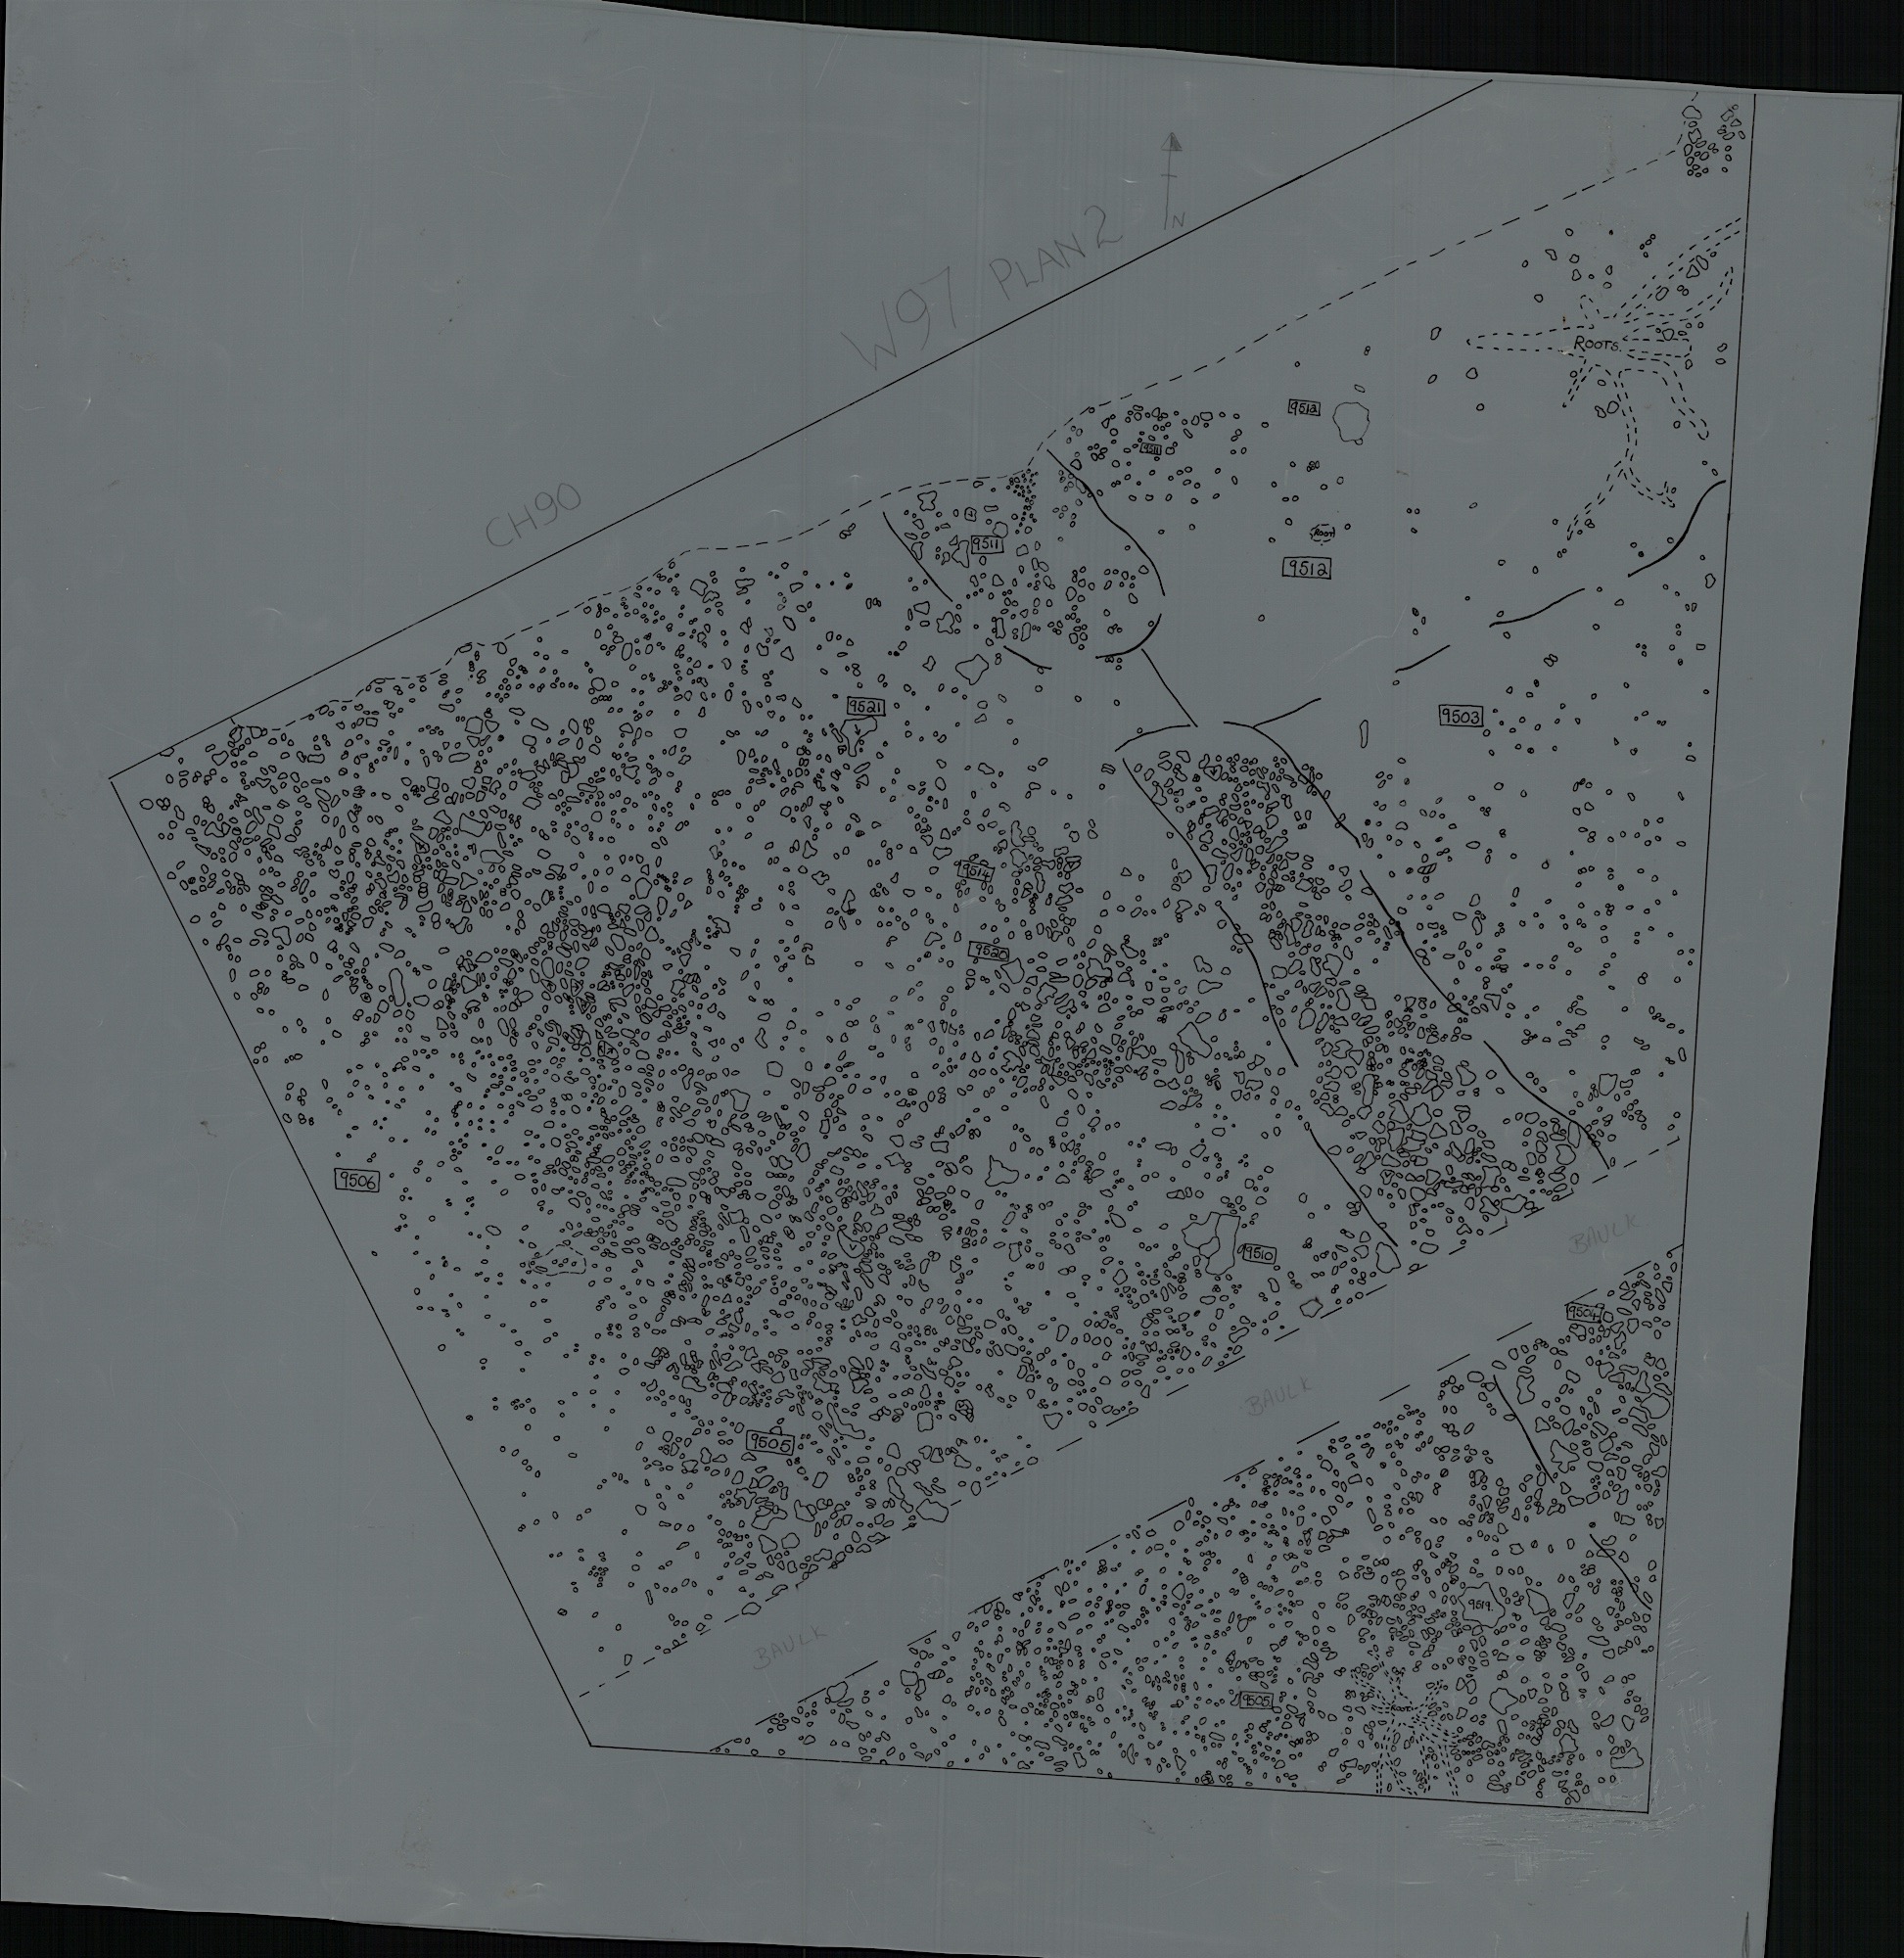
Return to index page
Previous image Next image
6. Plan 2 South
6. Plan 2 South
6. Plan 2 South