Return to index page
Previous image Next image
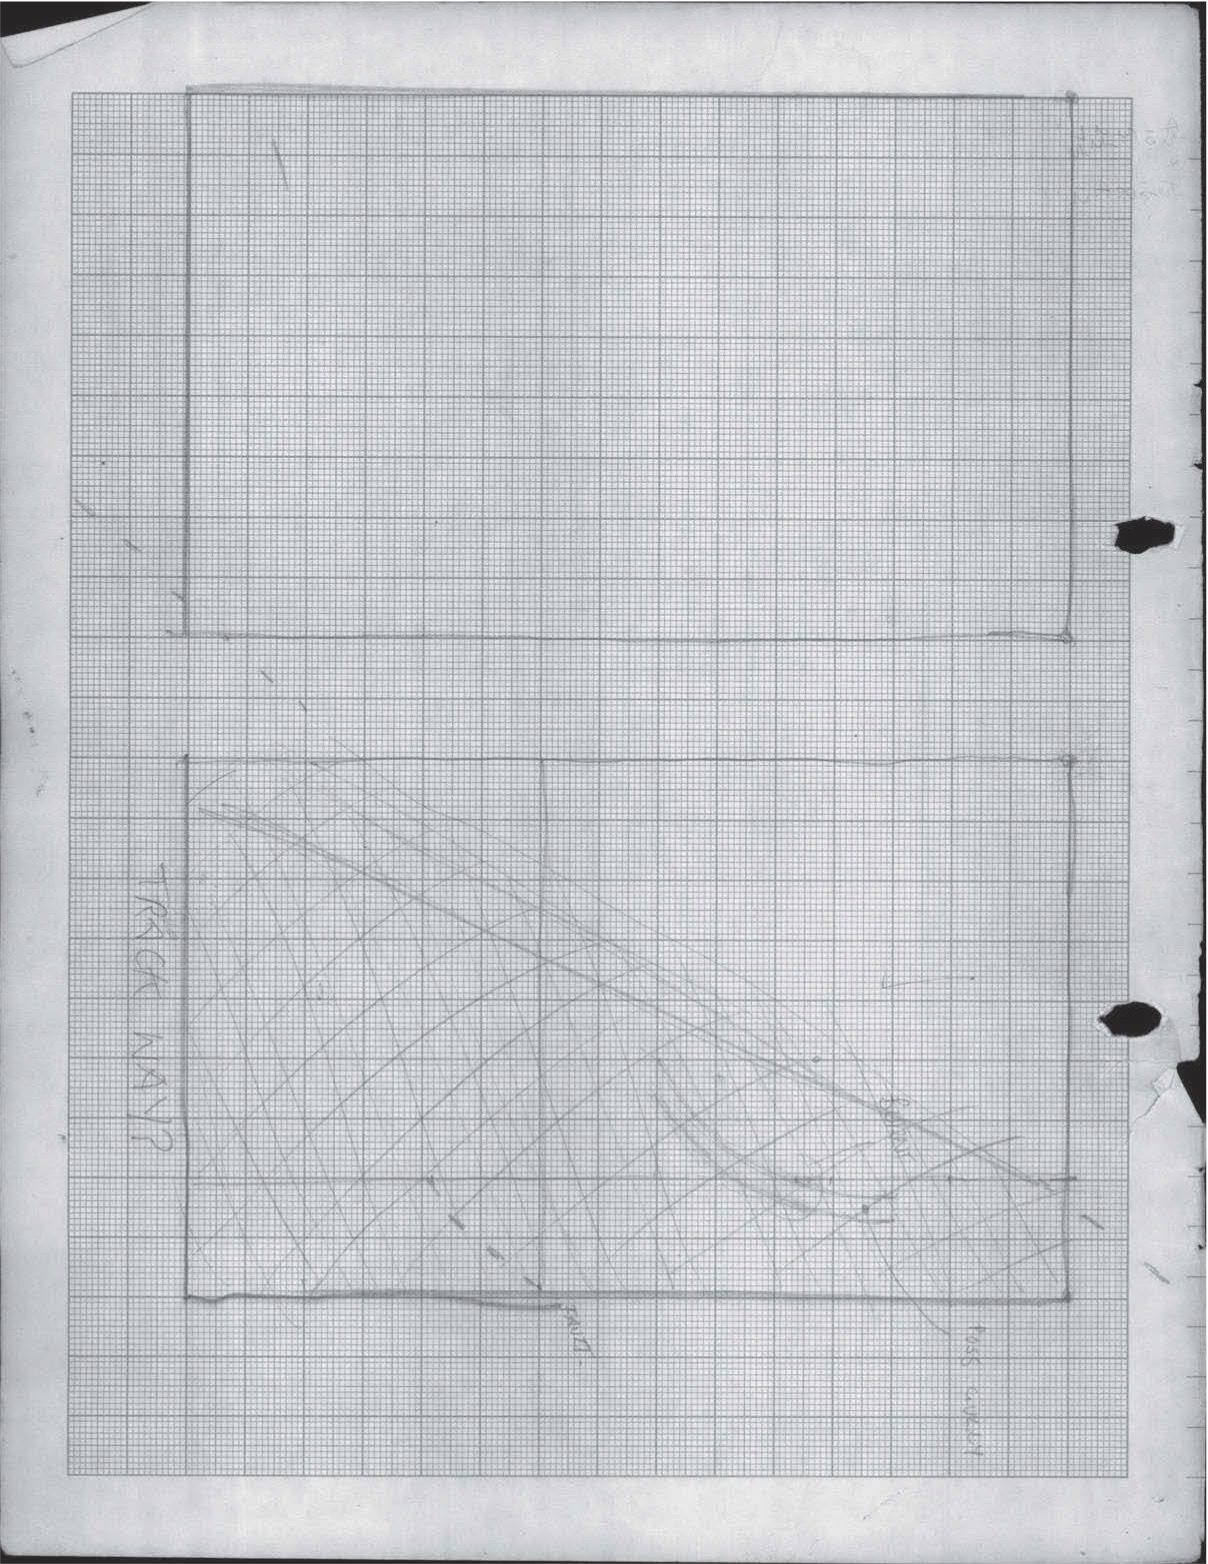
4. BVI and BVII plan 2 (hand)